Showing posts with label reflection. Show all posts

Sunday, 7 November 2021

Week 1... November 2021...


I wanted to draw witches this month. I also was interested in telling tiny simple stories through single images. On top of that all, my focus this month was on learning Perspective and using the Golden Ratio.

Midnight Snack...

I liked the idea of a witch living in a normal enviroment. For this, the idea was a witch being judged by her flatmate for midnight snacking. 

(Clip Studio Paint)

I sketched out the pose and layout of the characters. There would be a 1 point perspective, the witch would have a flowy pose with a clear line of action. I drafted the positions using my own guides for how she would be positioned to use the golden ratio. I had spent a few days researching the golden ratio, and a few more days observing the ratio in real life, trying to see it wherever it arose. 
I wanted the witch (and the fridge she was raiding) to be a line of vision for the golden ratio, and the cat to be another focal point. She would be within the 1.61803398875 of the ratio, and the cat would be outside of it on the other end. She would be looking at the cat, and the fridge's light would lead the eye to the cat. So her position would be highlighted and his would also be a focal point. 


(Clip Studio Paint)
I went for a very simple witch design, a big witch's hat, a simple dress, rugid hair, and a large nose. Looking back, I could have pushed her pose further. There certainly is a line of action within her pose, I wanted her to point to the cat with her body language. 

(Clip Studio Paint & Adobe Photoshop)

I wanted magical smoke in the image, but I changed my mind as it cluttered it a bit. One of my more recent serious attempts at perspective. I used Adobe Photoshop to create the perspective guide. Clip Studio does have a tool for this, but I felt relying on a program to layout the kitchen would be unfair. While this image shows two perspective grids, I did not use both, I simply duplicated and flipped the perspective grids as I had used the same layer for the golden ratio grid. Earlier I used a rough one in Clip, but I adjusted and defined it more accurately using Photoshop's custom guides and a bit of maths. 
I changed the pose of the cat, I felt having the cat sitting down would show a more judgmental attitude to the animal. 
I tried to make the drawers of the kitchen, the window, and the fridge to add to the ratio. Having cluttered parts fitting within the ratios guides. 
Looking back, I really should have fixed the windowsill. I've learnt a fair amount of perspective from this and I will prefer to use the tools within Photoshop for it in future. 

(Clip Studio Paint)
I laid out the shading with textured brushes working in black and white. I made a focal line from the fridge's light, following the eyeline of the witch to the cat. 

(Clip Studio Paint)
Separately I laid out the flat colours of the kitchen, contrasting the witch's green skin and fridge to the brighter purple of the kitchen.

(Clip Studio Paint)

(Clip Studio Paint)
Finally with the multiply tools, I used the greyscale shades to shade the flat colours. I added some overlay layers of different hues of blue and purple across key points in the image to allow some colours to pop. I brightened the lines around the cat so he didn't blend in with the background. Some more darker overlays to add to the deep shades, some noise textures around the border of the image, and ofcourse, a few glow effects on the fridge to allow the deep shadows to work. 


Winter Witch...

(Clip Studio Paint)

(Clip Studio Paint)

For a personal image, I was still interested in drawing witches. I designed a witch girl who would be a Winter Witch. I wanted to convey in the image that she used her powers for mundane things, such as growing flowers out of season. Much like the last witch image, I was using the Golden Ratio again to layout my image composition. I tried to use the character, background, and sunflower within the ratio. 

In making this image I designed the character out first, simplistically exploring the design, using sharp shapes for her design, and then exploring colour. I then explored seasonal colours and designs to see which would inspire most, as the theme was already in my mind. 


(Design Exploration)


Highstreet....

(Adobe Photoshop)

After working on the perspective with the Midnight Snack image, I went back to basics. I found a few inspirational images from me peers and tried to replicate the simple styles, with the bricks and scuffs and line quality. I used a reference image of a highstreet to study perspective, and went out of my way to work solely in Photoshop for this. As much as I love Clip Studio, sometimes it feels a bit like a crutch. I used simple shading to add depth.


After this... I will continue to work on perspective for the rest of the month....
(07/11/2021)

Painting...

 I'm heavily in preference to linework in art. However, I've been wanting to branch out into simplistic cartoony painting for a while now. In the realm of social media there's this running theme from artists that we all have a 'natural art style' and that we should just be happy with what we've got. I don't believe this. I believe any art style can be learnt with enough dedication. After all, Animation exists! Digital Painting is not my specialty, and it never will be if I don't practice it. 

The truth is, sometimes the image in my head just has to be painted, and these days I'm willing to risk more mistakes to get there. 


This is the first painted illustration I did in late 2020. I don't have a breakdown of my process for it, but needless to say, I was in unsure waters. There were so many layers! For a painting, too! I should have taken more time to watch & learn from digital painters, many offer their knowledge through tutorials and speedpaints. But for this one, I didn't! Lesson learnt. 

Tutorials, perhaps not, but I did have an image library of references for this one. 

I treated it much like I would a lineart piece, which I don't believe you should. I was too focused on cleanliness and order when I've found since then that painting freely and being willing to make adjustments is better.

(2020 - Clip Studio Paint)

Regardless of what I've learnt with this one, I'm still happy with it for now... Which only means there's much more growth for me to pursue..


A follow up on the painting practice, and a more energetic posing. A lot of little details on the outfit and different colours made it a nice challenge. I certainly learnt the error of my ways with using too many layers to paint on this one. 

(2020)


I wanted to push myself with a more crowded image, contrasting multiple characters against each other without linework. 


(2021)


On the left is the first artwork I ever made in Clip Studio Paint, it was done to try and understand the program. At the time I had a clear vision, wanting to push the colour and graphic design capabilities. I was inspired by artist BitsOfCrom. The style is very different from his, but that's the inspiration at the time. 
Since I now consider myself well-versed, perhaps even an expert, at Clip Studio Paint, I decided to go back to it. I always liked the image in concept, sharp colours particularly but now I am more skilled and I wanted to show a growth by redrawing it, using digital painting instead of lineart to compliment the singular colours more so. 

(2017-2021 Clip Studio Paint)


For this one I really wanted to push the storybook style that digital painting allows. I wanted to show a book cover design. With simply the idea of a kid in the woods, focusing on the layout and composition, along with an alternative styling. 

(2021 Clip Studio paint)


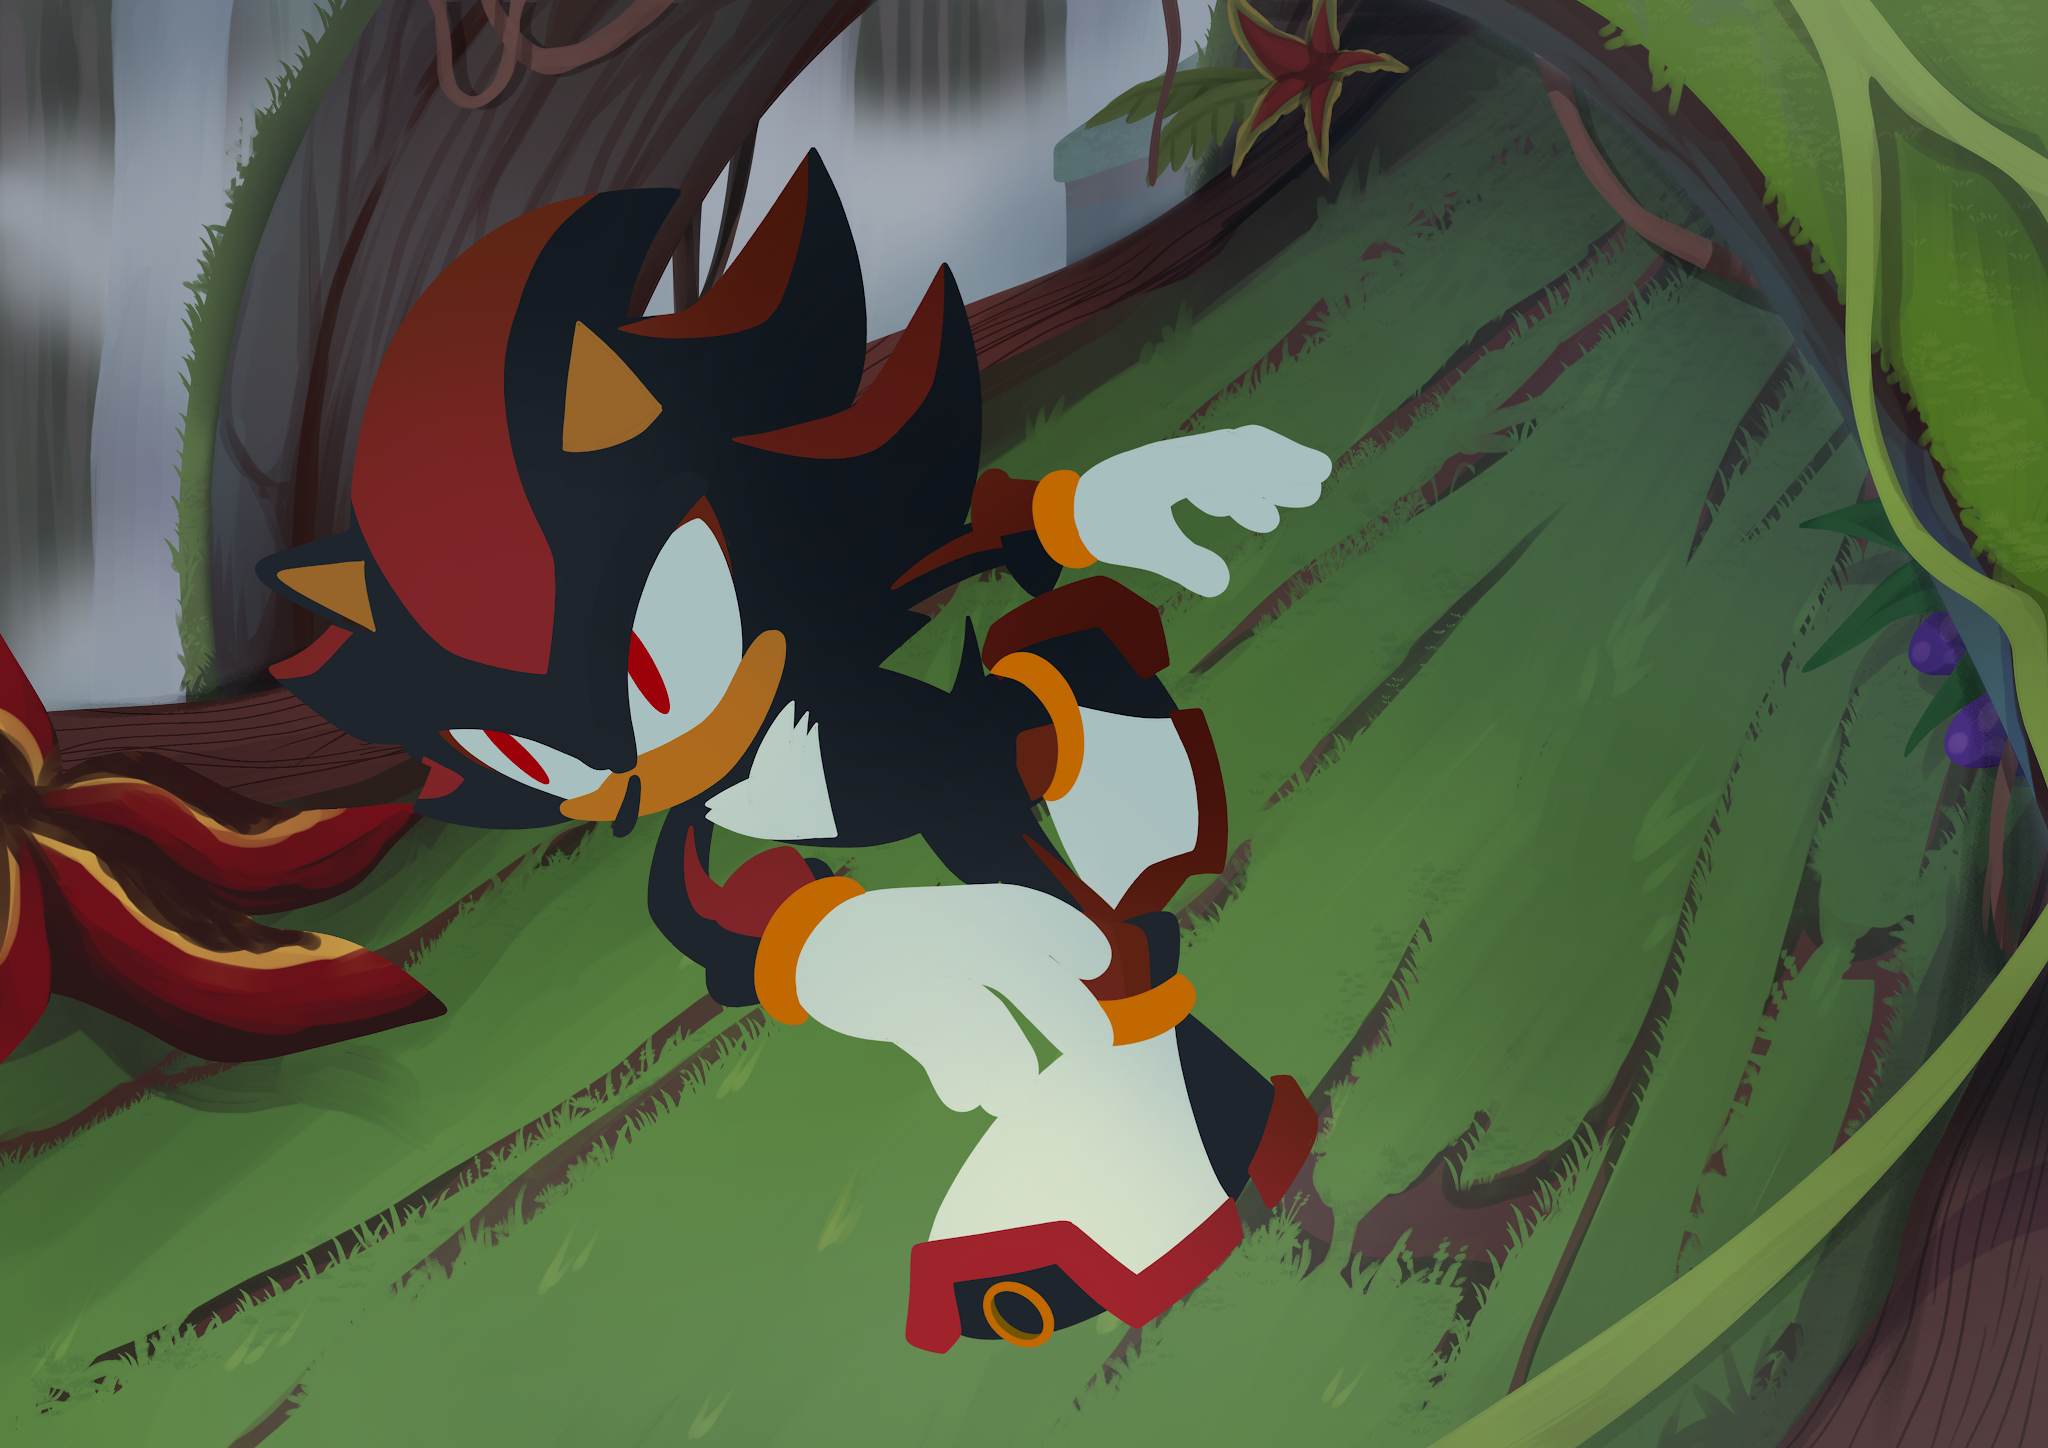
When it comes to backgrounds, I've always loved the aesthetic of Sonic Adventure 2's level design. Overgrown forests that compliment a level. I think it's neat, so that's what I wanted to focus on. Recreating a level that seemed so clear to me in my childhood's mind's eye, but in reality, well it's an old game. A lot of the level is hard to see and the nature of such levels, goes by very fast. It was a nice challenge to recreate a level that I could find very few clear references for. 
(2021 Clip Studio Paint)


(2021 Breakdowns)


Similar to my earlier piece, Asuka, I do like simplistic painting, few colours but with light shading this time. I had the image of a girl blowing heart bubbles. Despite simplicity, this is the one I took time to research and study the most for. One of the inspirations was the cover for the Album SlimeGirls. 

(2021 Clip Studio Paint)

I toyed around with simple character designs for this. Some of these designs I really like, but didn't fit the vision as clearly.
(Character Exploration)


(Colour Exploration)


As you can see, much of my work has been done in Clip Studio Paint, so I've wanted to follow these up with artwork using Adobe Photoshop. As much as I love Clip Studio, there are benefits to other programs too, and some things Photoshop can do that Clip cannot. 

Wednesday, 2 March 2016

Personal: TV Paint Practice - Leonne's Hair

I started this as a practice drawing in TV Paint a few months ago as a learning curve when I had more spare time before starting to work on Crew Projects. I had no real plan but I wanted to draw a character of mine who I had always visioned as with cloud-like and explosive hair, which I could never draw out in stills showing exactly what I meant. He was inspired from Nia Teplin from Tengen Toppa Gurren Lagann in this way.

Inspirational shot: Tengen Toppa Gurren Lagann


I animated him (without hair) in roughly a day as a test to understand TV paint as a medium before working on films. I came back to him months later (today) when I found more time and decided it was time to tackle the hair which was why I wanted to do this.
I hope to clean this up one day too as it would be a nice practice piece.


I animated his hair on 2s, I wasn't aware of how the properly animate by frame count when I fist started him(body) however. There were no key frames in this piece.

I had initially thought of using it as a lip sync practice but there was no voice clip I had planned and decided to scrap that and focus on the hair.

Friday, 12 February 2016

ANIMATION: 3D modeling 2D turn sheet

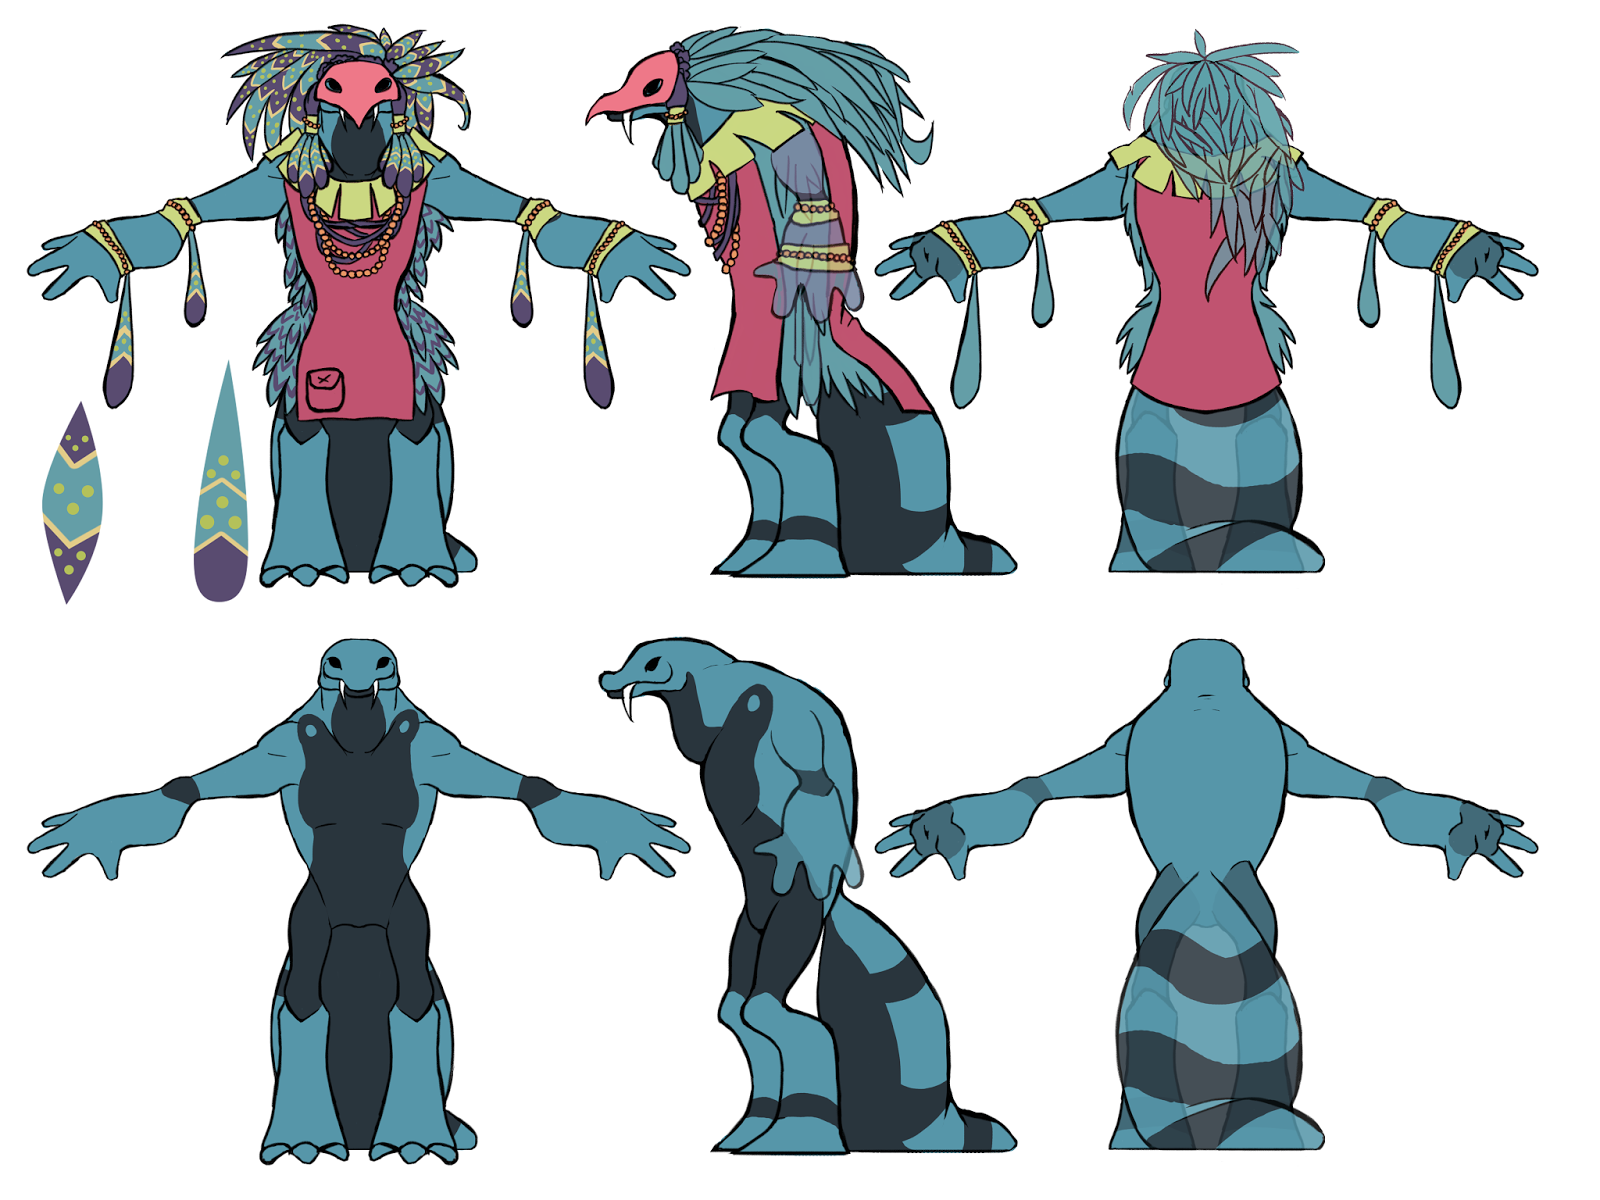
For my turn sheet I used a turn sheet I had made in my game project. I wanted to sue this because I felt it was more accurate than a new one and I had put time into the designs.

I attempted it 3 times. I used this turn sheet at first and tried boxing it out. I then got demoralised and felt lost on where I was and how to do it, I was very confused on to how to make the arms, tail, and leg I had messed up along the way so i wanted to start again.
I was not intending to model any of the clothing. 

Eventually I started again with a different turn sheet of the same batch. I got a lot further and made the arms and tail with it, but I was unsure how to duplicate the arms and mesh them together. I ran into the same issues with this and Maya had gotten stuck on a high-poly version which would not divert back to the low poly for me to edit, it also kept crashing. (I would later find out this was because I needed to delete the history and the model would go back to low-poly if I had just restarted the program. I wish I had not ran into this issue because it was easily fixed and I didn't work hard enough to fix it. I wanted to start on an easier model sheet.

Looking back it may have been best for my time management to just go with this design from the start and work with it however in the stage of making it higher-poly I found many overlapping polygons that I could not fix and I feel I learnt more from working on the 2nd model in the end. 

 I decided after making most of it it was best to go back to the 2nd and fix it as I felt I had wasted too much time restarting and was further with that one. I think I should have just stuck to one but I don't regret the learning experience of making theses, even if they're not complete. 
I got help with copying the arm through duplication and I managed to conjoin them using tools my lecturer showed me. I managed to learn how to do this, and how to extrude quickly as well as short cuts for changing it to a higher poly. 

I needed help exporting it into Mudbox and managed to fix the model with the extra vertexes in order to do so. I used Mudbox to clean up the model as I was unable to do so in Maya but this was rushed as I had wasted most of my time making multiple models. I am glad I planned out my time so I would have extra time for this. I smoothed it out and then put it back into Maya for rigging. Before rigging I wanted to try UV unwrapping and making textures. I had not had a lecture on this yet and had no idea how to do it. I managed to unwrap it with the use of an extension. I was not entirely sure of how to do it and I don't think I did it in any good way but I'm glad I had the learning experience. I had no idea how to use alpha channels and such. I rigged the model with relative ease but I found that the animation needed more time on fixing the rig for the folding of the model which I got completely stuck on and admitted I had no time to use for it. I animated it quite simply and exported it into the Gallery. I spent the remaining 5 hours I had allocated myself to place everything in the gallery, set it up to work in Unity, play test it, and make sure everything worked, testing the CD-Rom before submitting the piece. 


Tuesday, 5 May 2015

TBS: Animations final

For the last leg of the course we were in crunch hour and it seemed we were all finally pulling our collective weight. I think if we had worked at least half as hard as we did in the last week we could have achieved so much more. In the end I wasn't able to complete my animations for the game and had to leave a few out as even though they were close to finished and placeholders were ready we couldn't program them into the game. As sad as that was I'm glad it's finished and I can reflect on it now realizing the large scale of work I did do and how I can now work at a much faster pace. Team members finally helped me with the animations at the end, helping with the simplest colouring of the animations late into the night before, it wasn't much in the grand scheme of things but it was a huge help. Many of the following animations were unable to be put into the game even as a placeholder due to no programming able to be found for the requirements to make the animations happen in game.
This animation could have been in game but the programming to do it would take too long and we would have missed the deadline.

We did not know how to program a death sequence into the game.


The following were finished by other members of the team while I finished the above. Many of these were also unable to be programmed into the game, endign up with only the L/R movements, Statics, and the Hits of the Shadowwalker (the tall one). I finished a static one as an example. 

The attack animation for the Shadelings was revised many times as I could not animate how I wanted it to look due to skill sets and what I was able to do the team mates were unhappy with, this was the final one I managed to do which met halfway what I wanted but could not do and was greatly appreciated by the group.

Death animation we couldn't program in. 

Hit animation that was done quickly and then was not able to be implemented into the game.

L/R animation was used for U/D movement too. 

An up/down aniamtion that was not able to be put in due to time. 

Split animation was another attack for them. Also unused.